
Vector masks
Hide parts of a layer with an editable path instead of painted pixels, reshape it with Direct Selection, and invert, disable or remove it.
A vector mask hides the parts of a layer outside a path. Unlike a painted layer mask, its edge is a path you can reshape at any time, and it stays crisp at any size. The layer's own pixels are never changed.
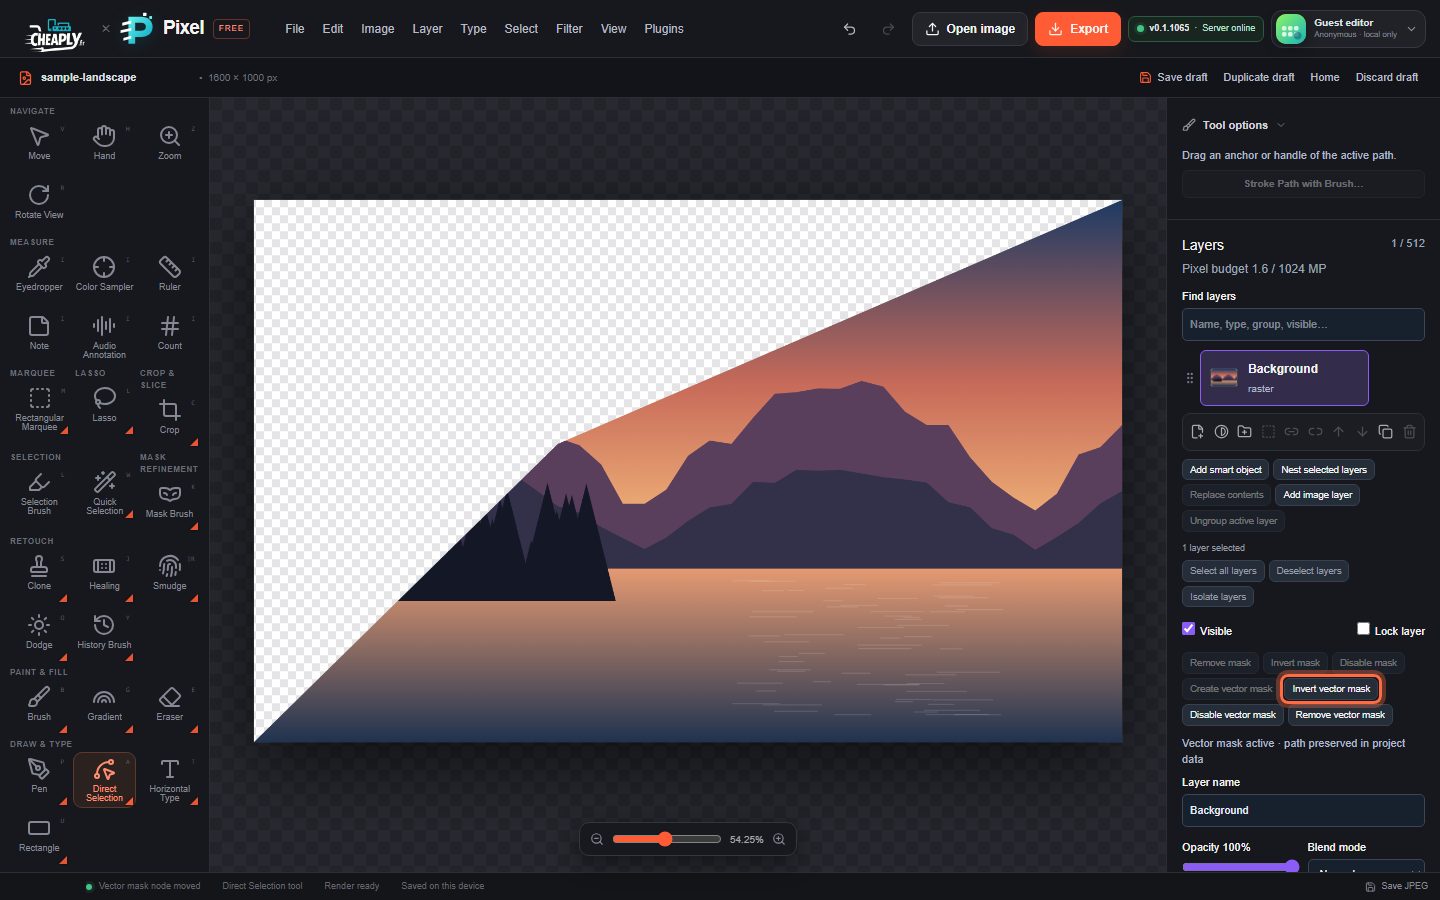
#Add a vector mask
- Select the layer in the Layers panel. Pixel layers, smart objects, type, shapes and paths can have a vector mask; adjustment layers cannot.
- Choose Layer > Create Vector Mask, or click Create vector mask in the Layers panel.
The new mask is a rectangle around the whole layer, so nothing is hidden yet.
#Shape the mask
Choose Direct Selection (press A twice) and drag the mask's anchors and handles. While the layer has a vector mask, all the path tools edit the mask rather than the layer:
- Add Anchor Point, Delete Anchor Point and Convert Point add corners or curves to the mask.
- Path Selection moves the whole mask outline.
See Edit paths and anchors. Each change is one undoable step.
Only closed areas count: the mask shows what is inside its closed contours, and any outline (stroke) setting of the path is ignored.
#Invert, disable or remove
| Command (Layer menu) | Layers panel button | Effect |
|---|---|---|
| Invert Vector Mask | Invert vector mask | Hide the inside of the path instead of the outside. |
| Disable Vector Mask | Disable vector mask / Enable vector mask | Turn the mask off temporarily. The path is kept. |
| Remove Vector Mask | Remove vector mask | Delete the mask and show the whole layer again. |
These commands are unavailable on locked or hidden layers.
A vector mask also works on a layer inside a clipping mask.
Still stuck? See Troubleshooting or report a problem.