
Vanishing Point
Map a layer onto a single perspective plane by typing four corner points with Filter > Vanishing Point…, for example to lay a picture flat on a wall or floor.
Filter > Vanishing Point… reshapes a layer so that its four corners land on four points you choose. The picture is stretched in true perspective in between, so a flat image can be made to lie on a wall, a floor or a screen in another photo.
In PixelForge this is a single-plane projection that you set by typing corner coordinates. There is no grid to draw, no multiple planes and no perspective-aware cloning.
#Before you start
- Work out the four target points in layer pixels, measured from the layer's top-left corner. For a layer that fills the canvas, these are canvas pixels; the document size is shown next to the file name above the canvas.
- Vanishing Point changes the layer's pixels (it is not a live filter). Undo restores the original. To keep the original, duplicate the layer first.
- The layer must be a visible, unlocked raster layer or smart object.
#Apply Vanishing Point
- Select the layer.
- Choose Filter > Vanishing Point…. The Vanishing Point dialog asks for the Target quad.
- Type four points, clockwise from the top-left, as
x,ypairs separated by semicolons:top-left; top-right; bottom-right; bottom-left. The field starts with a rectangle 10 px inside the layer's edges, for example10,10;1590,10;1590,990;10,990for a 1600 × 1000 layer. Until there are four numeric points, the dialog shows "Vanishing Point needs four numeric x,y points" and Warp stays unavailable. - Click Warp or press Enter. The layer's top-left corner moves to the first point, its top-right corner to the second, and so on.
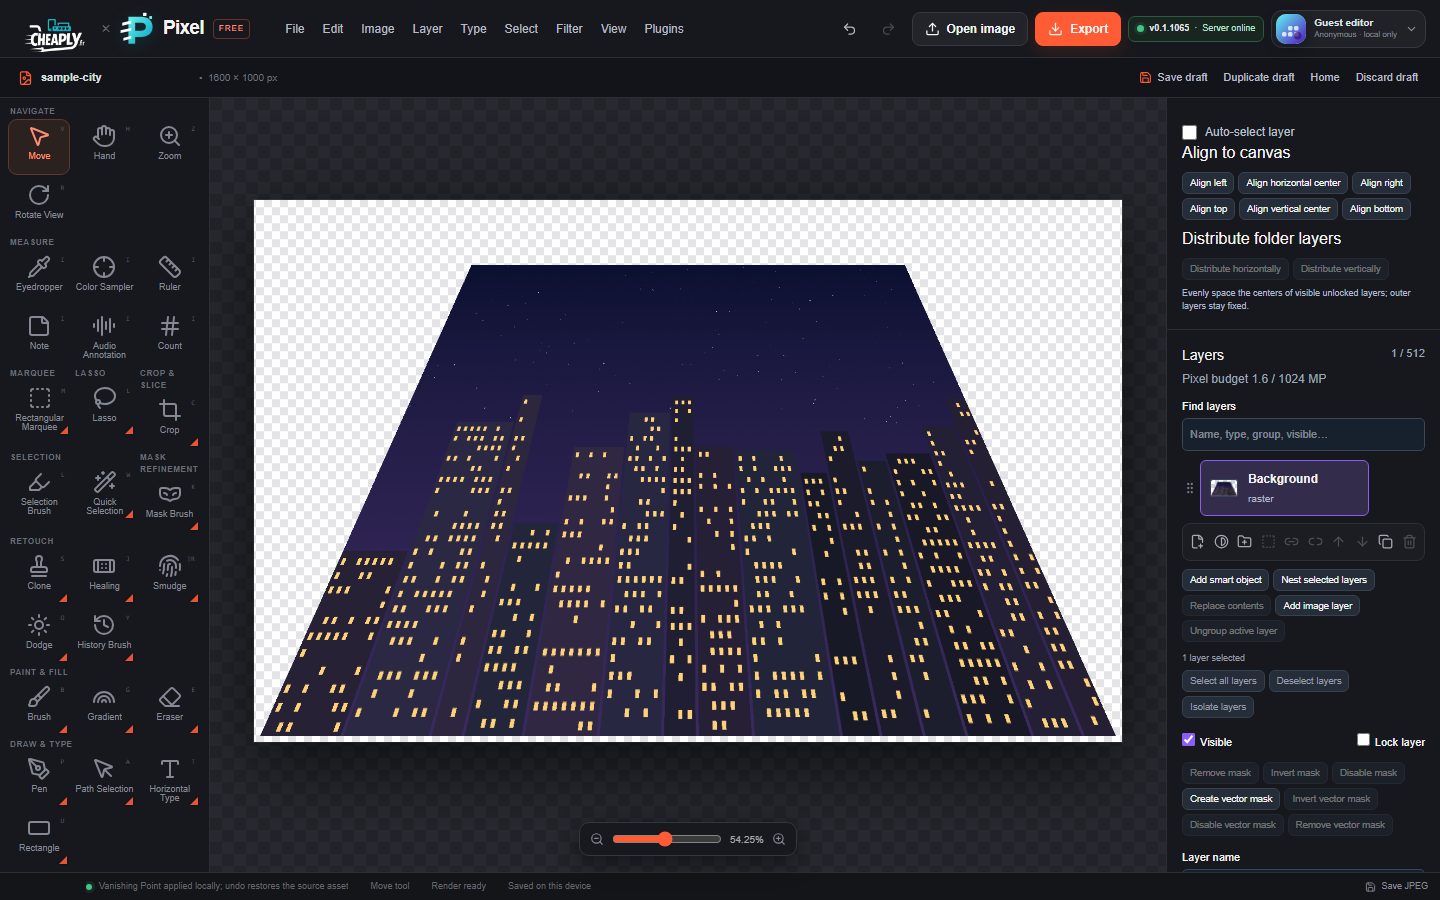
The status bar says "Vanishing Point applied locally; undo restores the source asset". Areas of the layer outside the new shape become transparent.
#Example
On a 1600 × 1000 layer, 400,120;1200,120;1590,990;10,990 keeps the bottom edge wide and narrows the top, so the picture appears to recede into the distance, as in the image above.
#If it does not work
| Message | What to do |
|---|---|
| "Vanishing Point needs four numeric x,y points" | Check you typed exactly four pairs, each with a comma between x and y and semicolons between pairs. |
| "Select a raster or smart-object layer before using Vanishing Point" | Select a picture layer. Text, shape and adjustment layers cannot be projected. |
| "Unlock and show the active layer before using Vanishing Point" | Unlock the layer and make it visible in the Layers panel. |
| Another error about the corners | The points cross over (for example not in clockwise order) or lie too far outside the layer. Re-enter them in clockwise order. |
Still stuck? See Troubleshooting or report a problem.