
Patterns
Use the built-in patterns, make a pattern from a selection and save pattern presets for the Pattern Stamp and Edit > Fill.
Patterns are small tiles repeated across an area. In PixelForge you can paint them with the Pattern Stamp, fill a layer or selection with Edit > Fill…, and add one as a Pattern Overlay layer style. Everything is generated in your browser.
#Built-in patterns
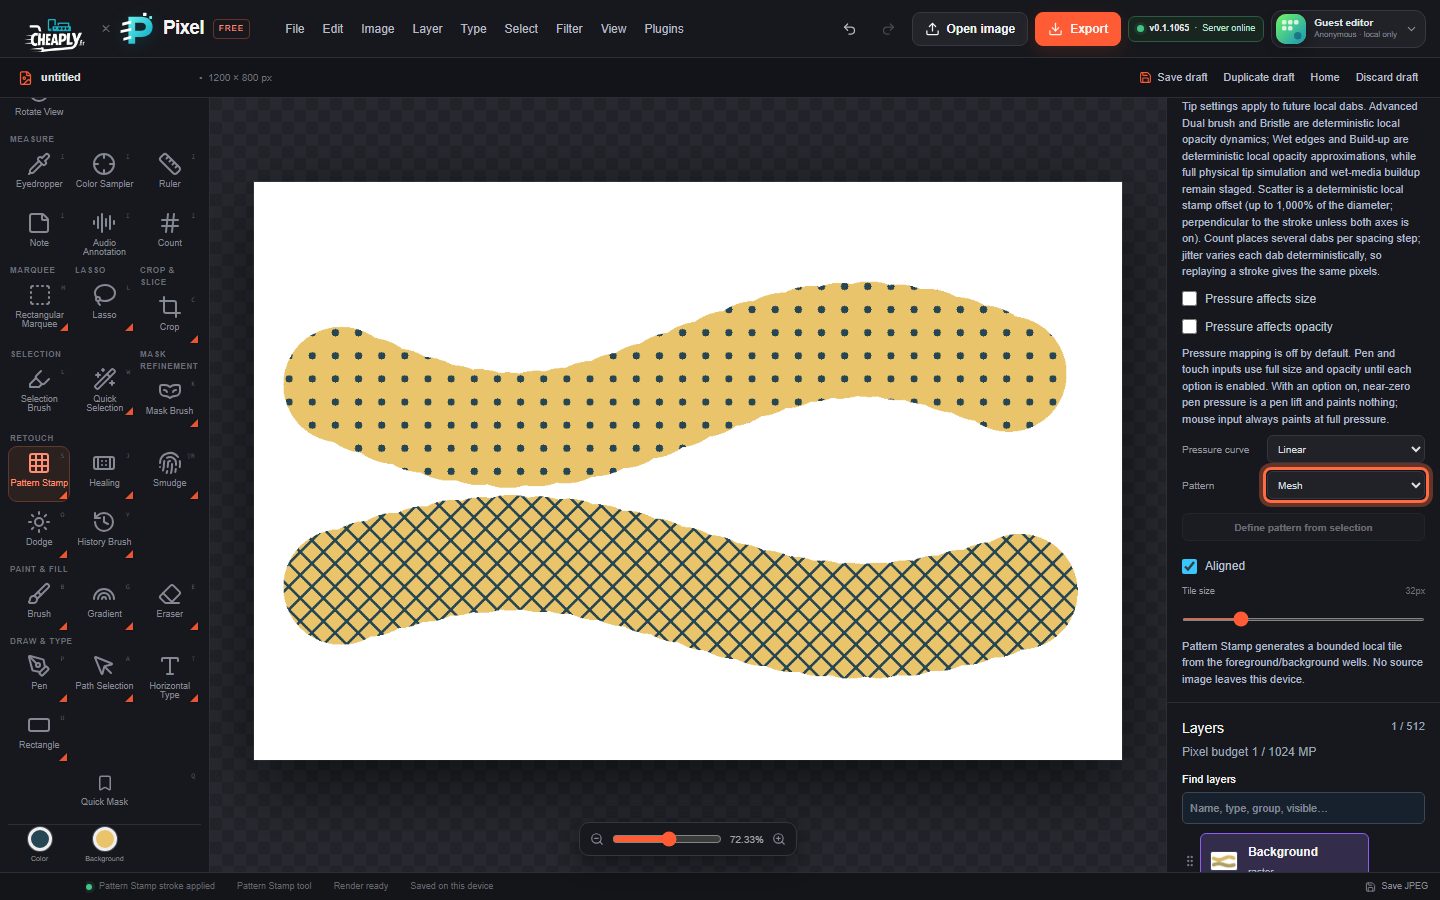
There are six built-in patterns: Checker, Stripes, Dots, Grid, Diagonal and Mesh (a diamond, fishnet-like lattice). They are drawn in the foreground colour over the background colour, so change the Color and Background wells to recolour them (see Choose colours).
The tile size can be set from 4 to 128 px. With the Pattern Stamp, use the Tile size slider; in Edit > Fill…, the Tile size (px) field.
#Paint a pattern with the Pattern Stamp
- Choose Pattern Stamp: press and hold (or right-click) the Clone button in the Retouch group, or press S until it is selected.
- Choose a Pattern and a Tile size.
- Paint on the canvas.
Aligned (on by default) keeps the pattern continuous across strokes, as if every stroke uncovers the same wallpaper. Off, each stroke starts the pattern again at its first point. See Clone and Pattern Stamp for the brush options.
#Make a pattern from a selection
- Select the area you want to repeat on a pixel layer.
- With the Pattern Stamp active, click Define pattern from selection.
- The new pattern becomes the current source and is listed in the Pattern menu after the built-in patterns.
A selection-defined pattern keeps its own pixels and colours, so it ignores Tile size and the colour wells. It is scaled down to at most 128 px per side, and up to eight are kept. These patterns are stored in your draft and project file only.
Selection-defined patterns are also offered in Edit > Fill….
#Save a pattern preset
Edit > Define Pattern… saves the current Pattern Stamp pattern, tile size and both colours under a name. Saved presets appear in a Saved pattern menu in the Pattern Stamp options; choosing one restores the pattern, tile size and colours. Up to 32 presets are kept in your draft and project file.
#Fill with a pattern
Choose Edit > Fill… (Shift+F5), set Contents to Pattern and choose a pattern and tile size. Transparent background (lines only) is on by default, so the gaps in the pattern leave the layer untouched; turn it off to fill the gaps with the background colour. The fill covers the selection, or the whole layer when nothing is selected. See Fill a selection.
#Pattern Overlay
To add a pattern to a layer non-destructively, use the Pattern Overlay layer style. See Layer styles.
Still stuck? See Troubleshooting or report a problem.