
Draw selections with the lasso tools
Draw freehand selections with Lasso, straight-edged ones with Polygonal Lasso, and edge-following ones with Magnetic Lasso.
The lasso tools select irregular shapes. They share one toolbar button in the Lasso group; press and hold it, or right-click it, to choose Freeform Lasso, Polygonal Lasso or Magnetic Lasso. Press L repeatedly to step through the Lasso tools and the Selection Brush.
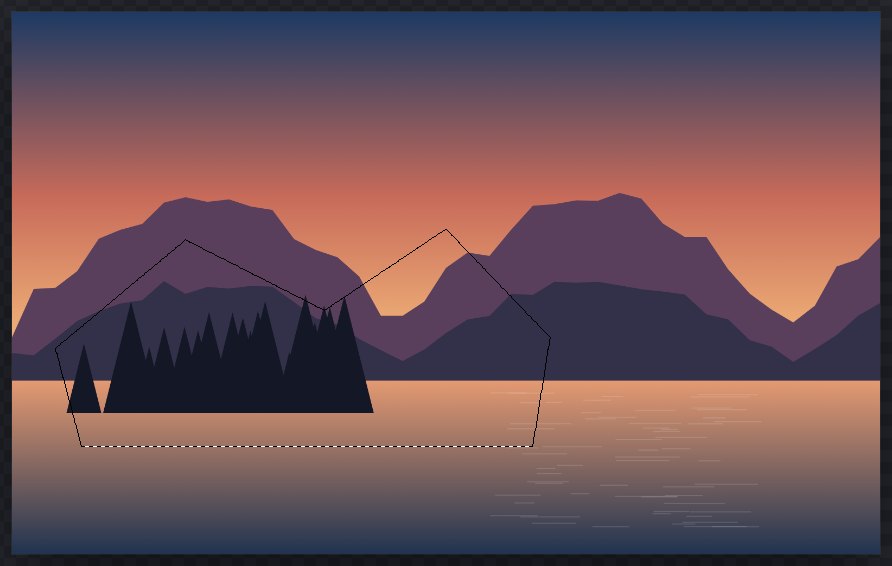
#Lasso (freehand)
- Choose Lasso.
- Drag around the area you want. Release to close the shape; the start and end points are joined with a straight line.
#Polygonal Lasso
- Choose Polygonal Lasso.
- Click to place each corner. A dashed line shows the path so far.
- Close the shape by clicking the first point again (after at least three points), or double-click the last point.
Press Esc to cancel a path you have not closed yet. This click-by-click method also works with touch and a pen.
#Magnetic Lasso
Magnetic Lasso snaps the outline to the strongest nearby edge in brightness as you move.
- Select the layer whose edges you want to follow. Magnetic Lasso reads the active visible raster layer.
- Choose Magnetic Lasso.
- Press on an edge and drag along it. The path snaps to nearby contrast.
- Release to close the selection. Press Esc while dragging to cancel.
Magnetic Lasso works best where the object and background differ clearly in brightness. On soft, low-contrast or busy edges it can wander; tidy up with the Selection Brush or Quick Mask. It looks only at brightness edges in your image, on your device; it does not recognise objects.
#Options
All three lassos have Feather (new selections), which softens the edge of the next selection from 0 to 1,000 px, and Selection mode (Replace, Add, Subtract or Intersect). See Selection basics.
Still stuck? See Troubleshooting or report a problem.