
Bend a layer with Perspective Warp and Puppet Warp
Map a layer onto four corner points with Edit > Perspective Warp…, or push parts of it with up to eight pins using Edit > Puppet Warp…, by typing coordinates.
Edit > Perspective Warp… and Edit > Puppet Warp… reshape the pixels of the active layer. Both are simple, numeric versions of these effects: you type the points into a small dialog rather than dragging a mesh on the canvas. For freehand pushing and pulling, Liquify is often easier.
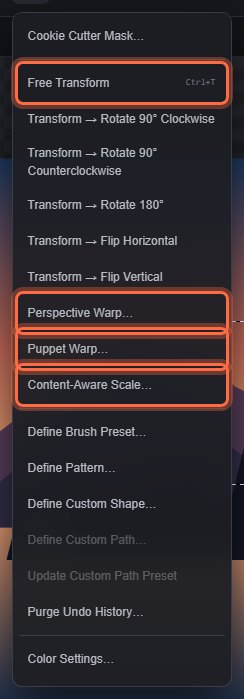
Both commands need a visible, unlocked image or smart object layer. They replace the layer's pixels with the warped result at the same size; Undo brings back the original.
#Coordinates
Points are in the layer's own pixels, measured from its top-left corner: x increases to the right and y increases downwards. For a layer that fills a 1600 × 1000 canvas, the bottom-right corner is 1600,1000.
#Perspective Warp
Perspective Warp fits the whole layer into a four-sided shape that you define, for example to place artwork onto a sign or a screen in a photo.
- Select the layer and choose Edit > Perspective Warp….
- The Perspective Warp dialog asks for the Target quad: four x,y points separated by semicolons, in clockwise order starting at the top-left. The suggested value is the layer's own corners, 10 px in from each edge.
- Edit the points, for example
100,50; 1500,150; 1450,900; 150,980, and click Warp or press Enter. While the text is not four numeric points, the dialog says so and Warp stays unavailable. Cancel or Esc leaves the layer unchanged.
The layer's top-left corner moves to the first point, top-right to the second, bottom-right to the third and bottom-left to the fourth. Pixels outside the new shape become transparent. The shape must be convex (no inward corners).
#Puppet Warp
Puppet Warp moves parts of a layer by pins. Each pin is written as x,y,dx,dy: where the pin is, and how far to move it right (dx) and down (dy). Separate pins with semicolons; you can use one to eight pins.
- Select the layer and choose Edit > Puppet Warp….
- In the Puppet Warp dialog, type the Pins, for example
800,420,160,0to push the area around the point (800, 420) 160 px to the right, and click Warp. A malformed pin or more than eight pins is reported in the dialog before anything changes.
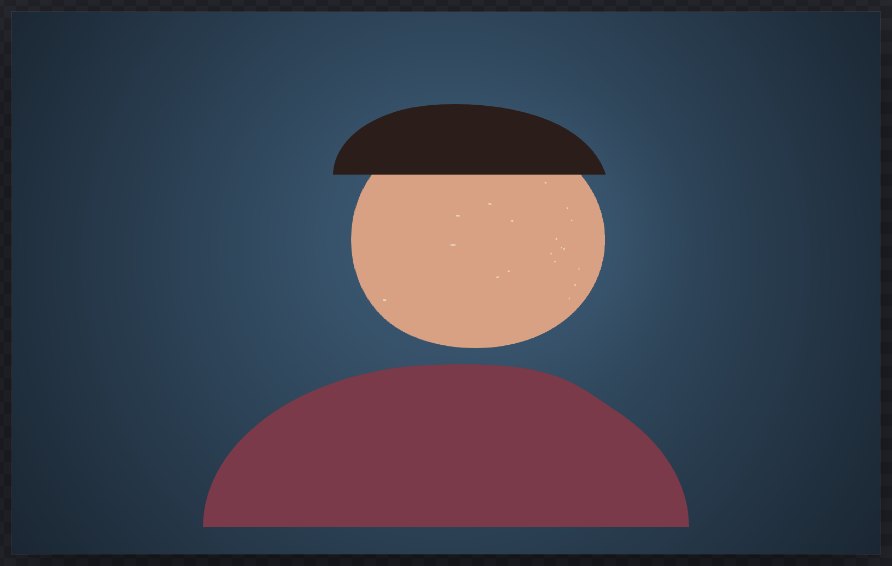
Each pin bends only the area around it. The pixel under the pin lands exactly where the pin moves to, nearby pixels follow less and less, and pixels farther away do not move at all. A pin reaches about a third of the layer's shorter side (35%), or farther for a long move, so the image never folds over itself. A single pin is enough: the rest of the layer stays where it is.
Where the areas of several pins overlap, their moves are blended. A still pin (dx and dy of 0) reduces the movement of a nearby moving pin, which helps to keep a feature from being pulled along. If a pin pulls content away from the edge of the layer, the uncovered area becomes transparent.
#Limits
- Pixels are resampled with nearest-neighbour sampling, so strong warps can look slightly jagged.
- There is no mesh, rigid-region or on-canvas pin editing; to adjust, undo and run the command again with new values.
- Layers are limited to 16 megapixels.
Still stuck? See Troubleshooting or report a problem.