
Adjustments overview
How tone and colour corrections work in PixelForge, where to find them and how to keep them editable.
Adjustments change the tone and colour of a layer: brightness, contrast, Levels, Curves, hue, saturation, Color Balance, exposure and more. In PixelForge every adjustment is nondestructive. The original pixels of the layer are kept, and the adjustment is stored as settings that you can change or reset at any time.
#Where the controls are
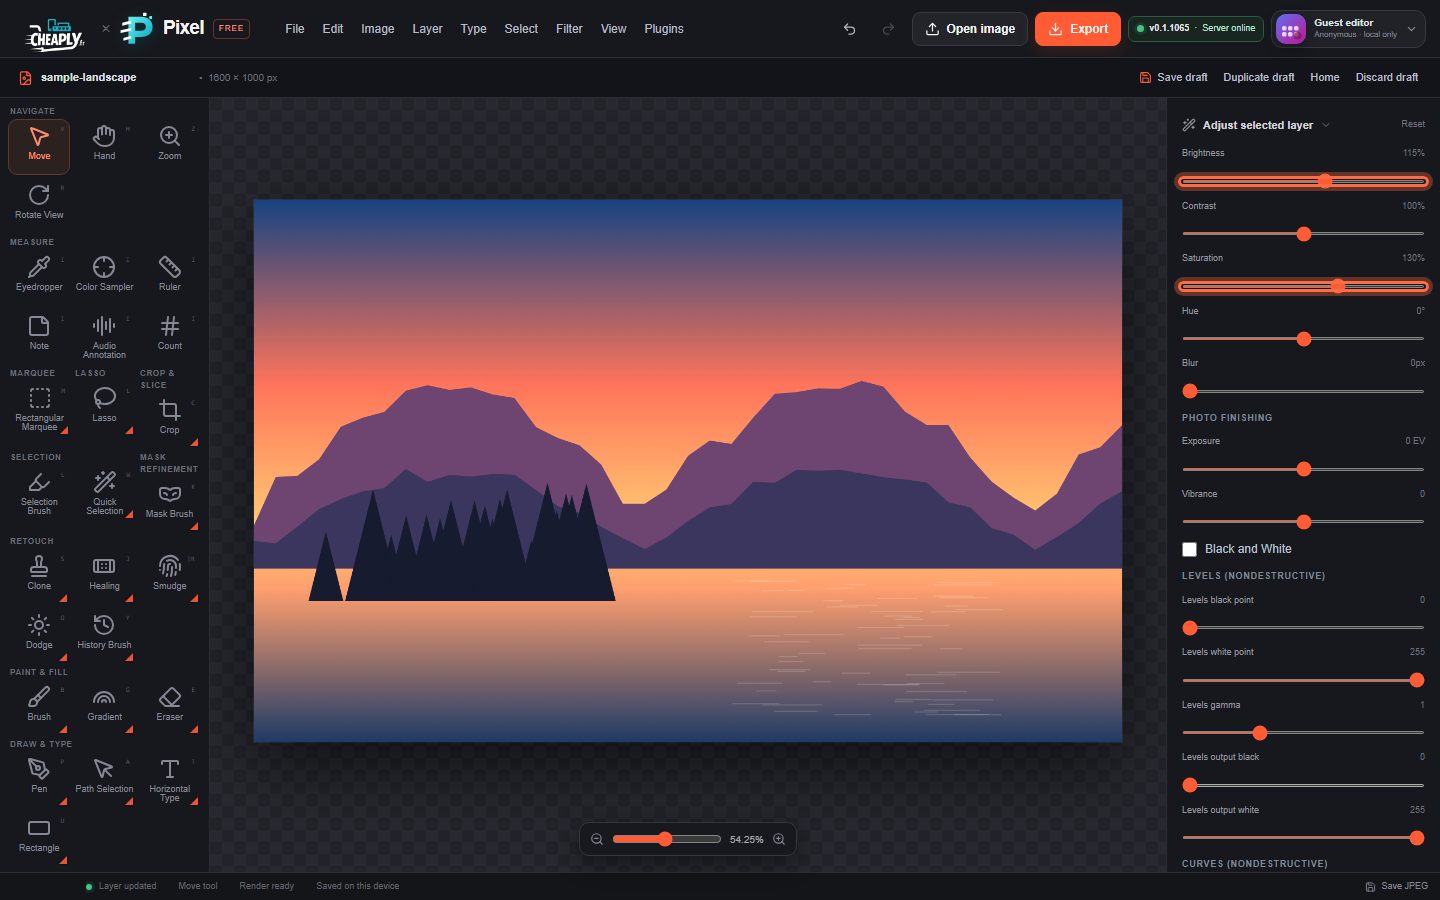
All adjustment controls live in one panel, Adjust selected layer. To open it:
- In the properties sidebar, under More panels, click Adjust.
- Or choose an adjustment from the Image menu: Levels…, Curves…, Hue/Saturation… or Color Balance…. The editor opens the Adjust panel and scrolls to that group of controls.
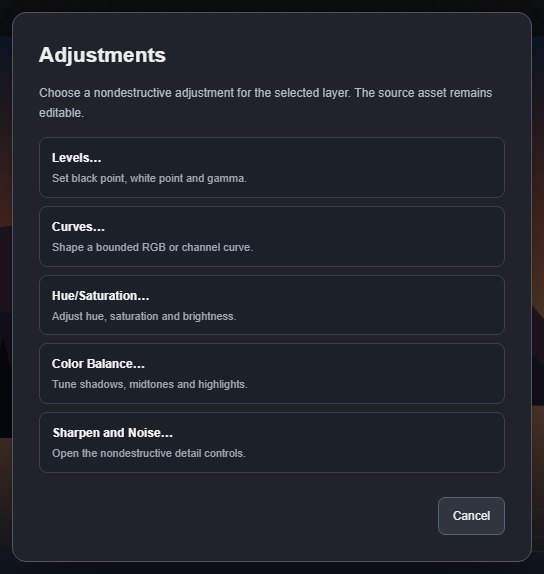
- Or choose Image > Adjustments. A small chooser lists Levels, Curves, Hue/Saturation, Color Balance and Sharpen and Noise; pick one to jump to its controls.
The panel contains, from top to bottom:
| Group | Controls | Article |
|---|---|---|
| (top) | Brightness, Contrast, Saturation, Hue, Blur | Hue/Saturation and Color Balance, Other adjustments |
| Photo finishing | Exposure, Vibrance, Black and White | Other adjustments |
| Levels (nondestructive) | Black point, white point, gamma, output black and output white | Levels |
| Curves (nondestructive) | RGB, Red, Green and Blue curve editors | Curves |
| Color Balance | Cyan/red, magenta/green and yellow/blue for shadows, midtones and highlights | Hue/Saturation and Color Balance |
| Sharpen and Noise | Sharpen amount, radius and threshold; noise amount, seed and monochromatic noise | Other adjustments |
The Image menu also has one-click Auto Tone, Auto Contrast and Auto Color; see Auto adjustments.
#Which layer is changed
The controls always edit the selected layer in the Layers panel. Each layer keeps its own settings, so selecting another layer shows that layer's values.
To correct everything below a point in the layer stack instead of one layer, add an adjustment layer. It uses the same panel, but its settings apply to the combined image underneath it. You can then paint where it applies with the Adjustment Brush.
#Undo and reset
- Each change is a step in the history; use Edit > Undo (Ctrl+Z) to step back. See Undo, redo and history basics.
- Reset at the top of the Adjust panel (or Edit > Reset adjustments) returns every adjustment on the selected layer to neutral.
#Limits
- A locked layer cannot be adjusted; unlock it first (see Link and lock layers).
- Corrections work on 8-bit RGB values. There is no 16- or 32-bit processing.
- These are bounded local approximations of familiar photo-editor adjustments. Results are similar in purpose, but will not match other applications pixel for pixel.
Still stuck? See Troubleshooting or report a problem.