
Smear pixels with the Smudge tool
Drag colour across the image like a finger in wet paint, with Strength, blend modes, Finger painting, Sample all layers and the shared brush tip options.
The Smudge tool picks up the pixels under the start of the stroke and drags them along, like a finger in wet paint. The paint fades with distance, so strokes leave soft trails that keep the texture of what you dragged.
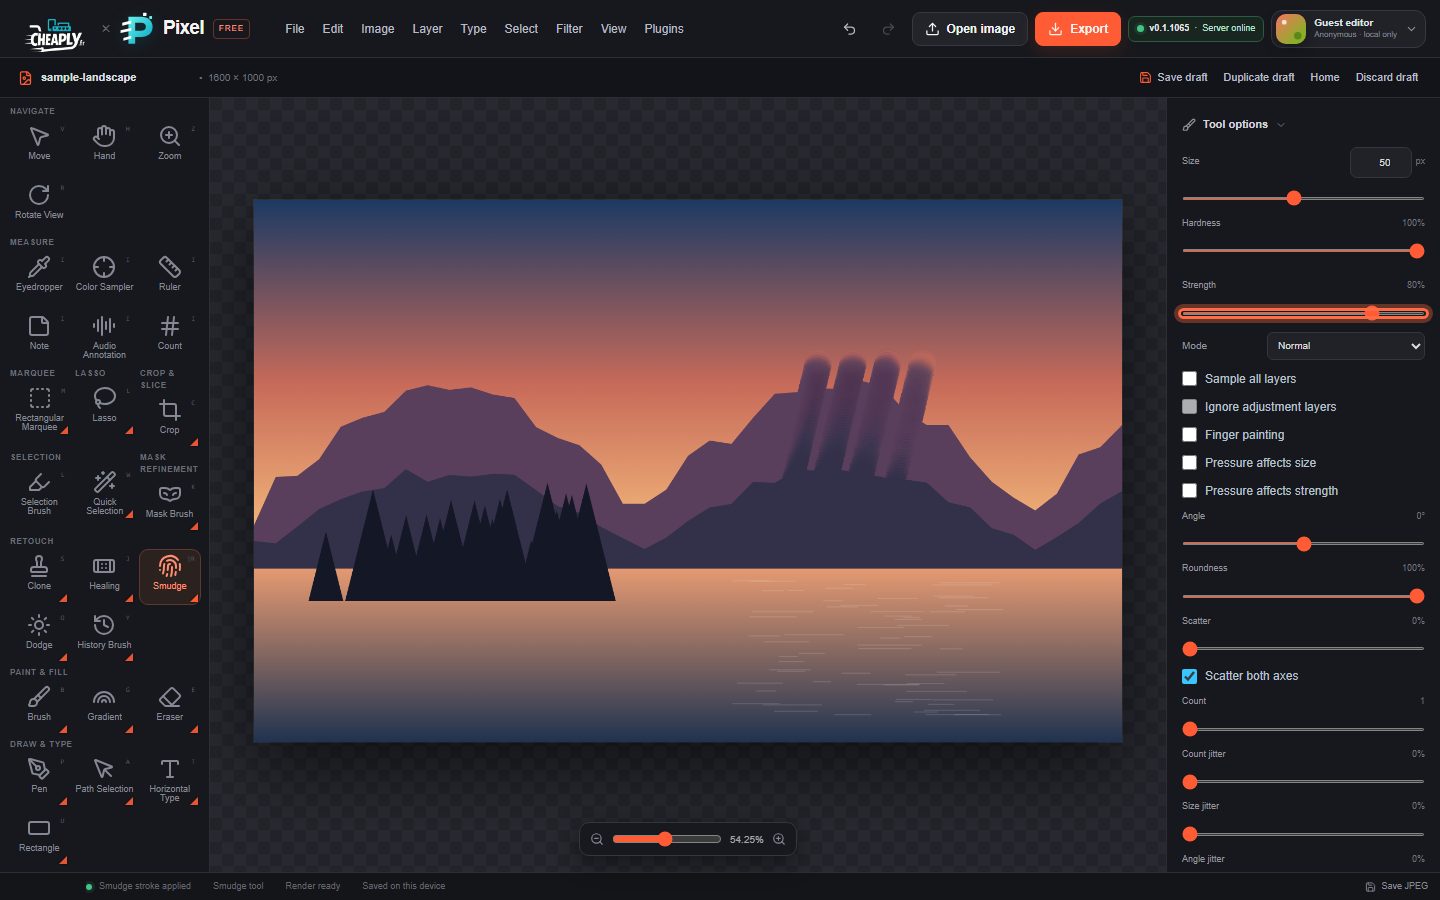
#Smudge an area
- Choose Smudge in the Retouch group of the toolbar. Smudge, Blur and Sharpen share one toolbar button: press and hold (or right-click) it to switch. From the keyboard, press Shift+R (shown as ⇧R on the button); press it again to cycle through Smudge, Blur and Sharpen.
- Set Size, Hardness and Strength.
- Start the stroke on the colour you want to move and drag.
A click without dragging changes nothing.
#Options
| Option | What it does |
|---|---|
| Strength | 0–100% (default 50%). Low values fade the dragged paint quickly; 100% drags it almost unchanged. |
| Mode | How the smudged colour combines with the pixels it lands on: Normal, Darken, Lighten, Hue, Saturation, Color or Luminosity. With Darken, for example, smudging only darkens. |
| Sample all layers | Picks up colour from the whole visible image instead of only the active layer, and writes the result to the active layer. Use it to smudge onto an empty layer above a photo. |
| Ignore adjustment layers | With Sample all layers, leaves adjustment layers out of the colour that is picked up. |
| Finger painting | Starts every stroke loaded with the foreground colour, so the first dab paints it and then smears it. |
| Pressure affects size / Pressure affects strength | With a pen or touch screen, pressure scales the size or the Strength. |
| Angle, Roundness | Shape an oval tip. |
| Scatter, Count and jitter | Spread and vary the dabs, as for the Brush. Strength jitter varies the strength of each dab. |
| Bristle, Texture | Bristle leaves streaks; Texture adds a paper grain to the smear. |
The Saved brush preset library and Symmetry group are available too. A brush preset saved while Smudge is active also stores Strength, Mode, Finger painting and the sampling options. See Brush presets and Paint with symmetry.
#Good to know
- On a fully transparent layer there is nothing to pick up, so turn on Sample all layers or Finger painting.
- Smudging also moves transparency: dragging into an empty area thins the paint, and dragging paint over transparent pixels fills them.
- With an active selection, only pixels inside it change.
- Each stroke is one undo step. Layer > Stroke Path with Brush… can also stroke a path with the Smudge tool (see Stroke a path).
- Smudge is a bounded local approximation. It does not simulate wet paint or use custom brush tips.
Still stuck? See Troubleshooting or report a problem.