
Export parts of an image with Slice, Slice Select and Frame
Mark rectangular areas with the Slice tool and download each as a PNG, edit saved slices with Slice Select, and add artboard viewports with the Frame tool.
Slice and Slice Select let you mark areas of the image and download each one as its own PNG file, without cropping the document. Frame adds an artboard: a named area of the canvas that can be exported on its own.
All three are in the Crop toolbar family: press and hold the Crop button, or right-click it, to choose them. They are also in the Image menu (Slice tool, Slice Select tool, Frame tool). Press C repeatedly to cycle Crop, Perspective Crop, Slice and Slice Select.
#Make and download a slice
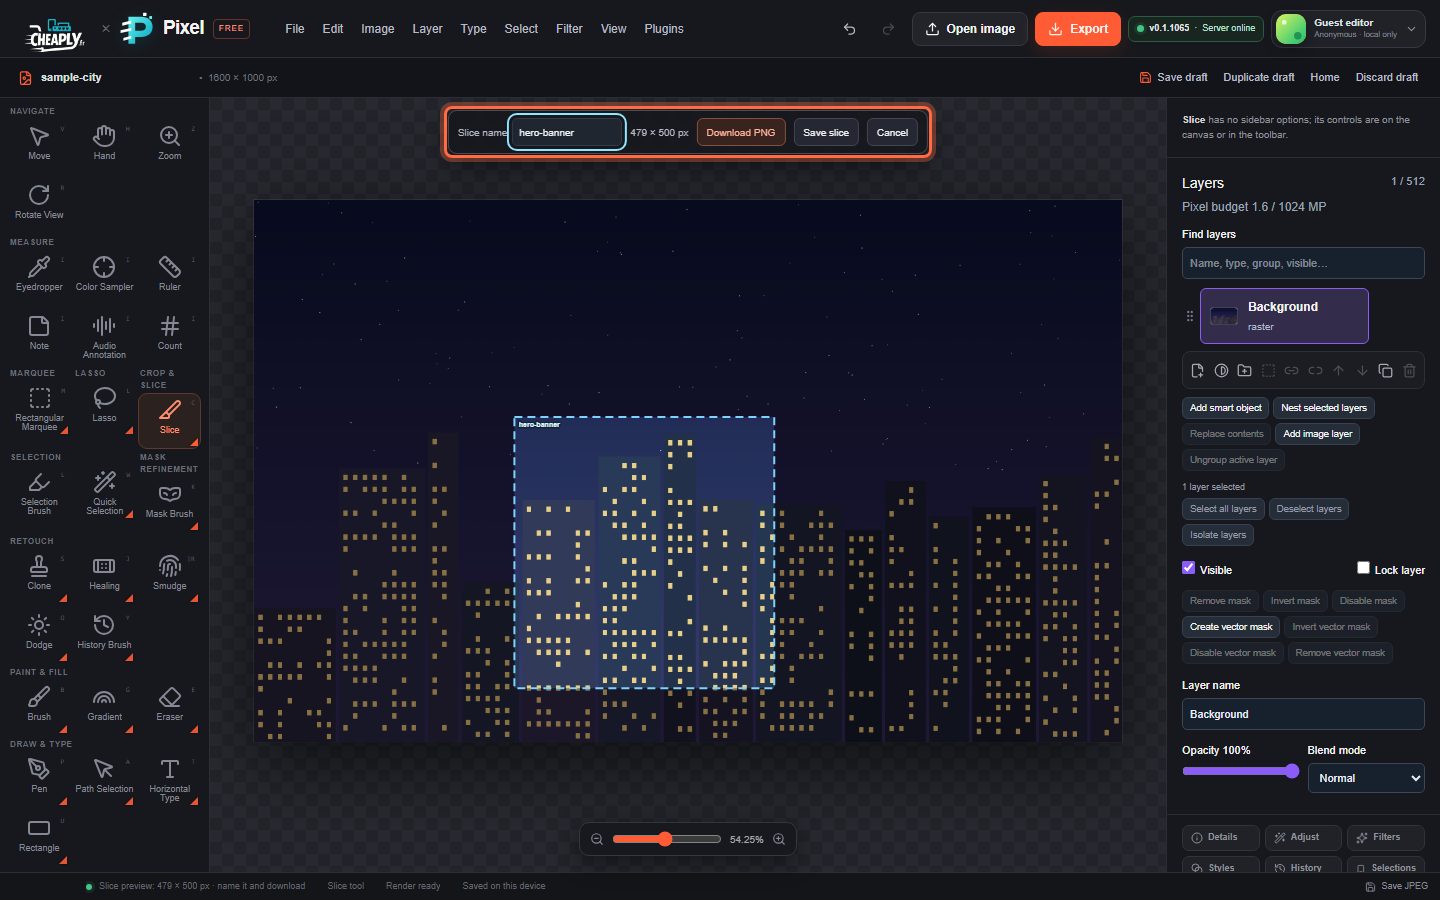
- Choose Slice.
- Drag across the area you want. It snaps to whole pixels.
- In the bar above the canvas, type a Slice name. It is used as the file name.
- Click Download PNG (or press Enter) to download that area now, and/or Save slice to keep it in the document.
- Cancel or Esc discards the slice.
The PNG shows the area as it currently looks, with all visible layers. Making or downloading a slice does not change the image or the undo history.
#Edit saved slices with Slice Select
- Choose Slice Select.
- Click a saved slice to select it. Where slices overlap, the top one is chosen.
- Then:
- Drag inside it to move it; drag an edge or corner to resize it. Each drag is one undo step.
- Change its name and click Update slice.
- Click Download PNG to export it, or Delete to remove it.
Saved slices are kept in your draft and in project files. A document can hold up to 256 slices, and slices may overlap.
#Add an artboard with Frame
The Frame tool creates artboards, not image placeholders. Press K repeatedly to reach it from the keyboard.
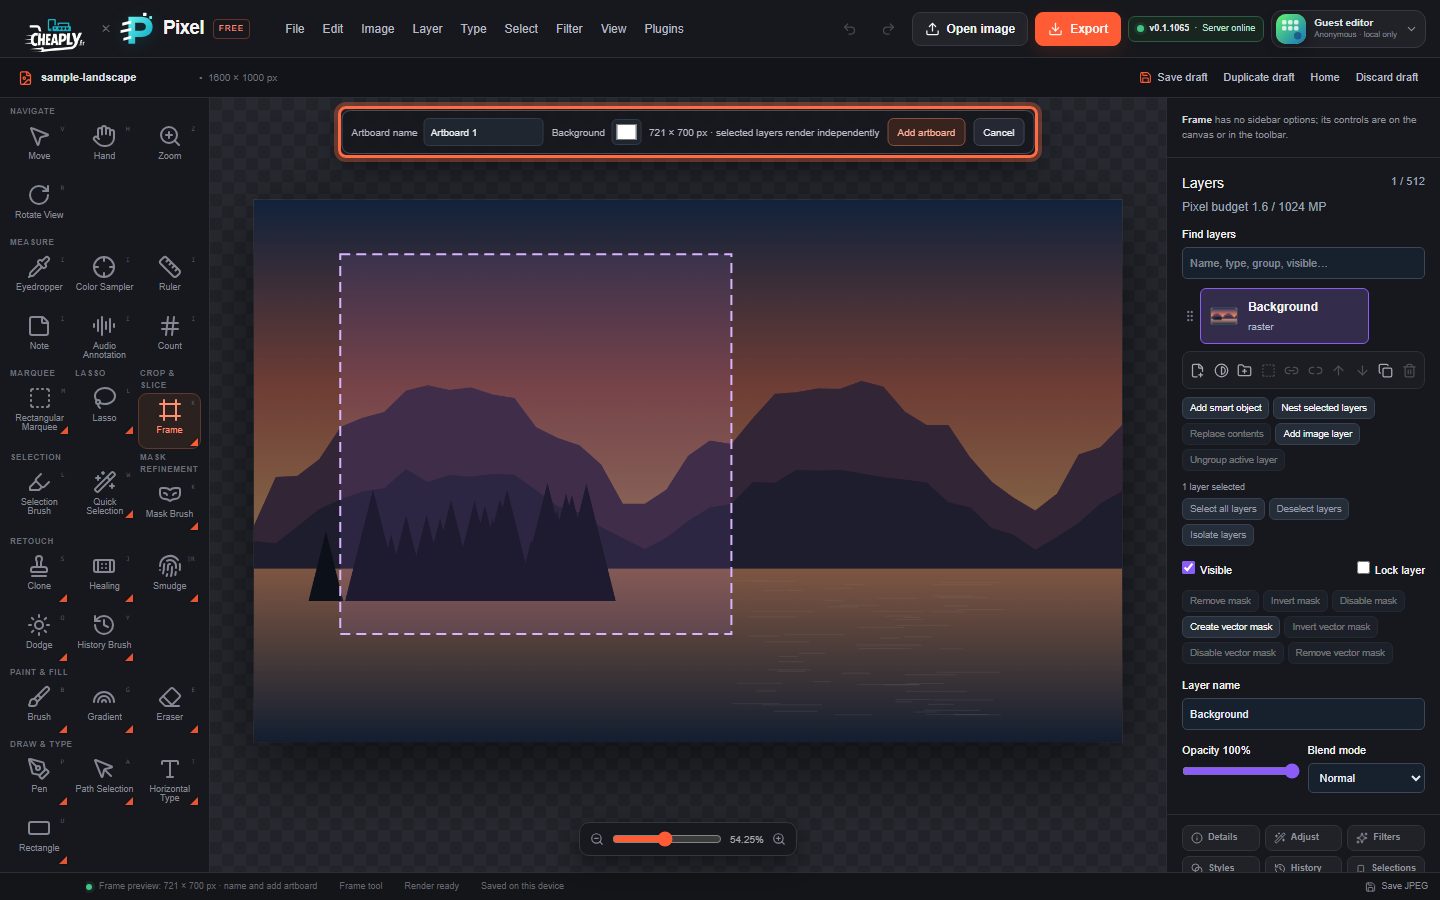
- Choose Frame.
- Drag the area of the artboard.
- Type an Artboard name and pick a Background colour for transparent areas.
- Click Add artboard or press Enter. Cancel or Esc discards it.
The artboard bar then appears at the top of the canvas, where you choose the active artboard, show or hide artboards and fit a layer into one. See Artboards for exporting and managing them.
Still stuck? See Troubleshooting or report a problem.