
Layer masks
Hide parts of a layer without erasing them by adding a layer mask from a selection, then invert, disable, refine or remove it.
A layer mask hides part of a layer without deleting any pixels. Where the mask is filled, the layer shows; where it is empty, the layer is hidden. Because the pixels are kept, you can change your mind at any time: invert the mask, switch it off, repaint it or remove it.
Layer masks work on image, paint and fill layers, on smart objects and on adjustment layers. For text, shape and path layers, use a vector mask instead.
#Add a mask from a selection
- Select the area you want to keep visible, for example with the marquee tools or Select Subject.
- Select the layer in the Layers panel. It must be visible and unlocked.
- Click Mask from selection under the layer list, or choose Layer > Layer Mask.
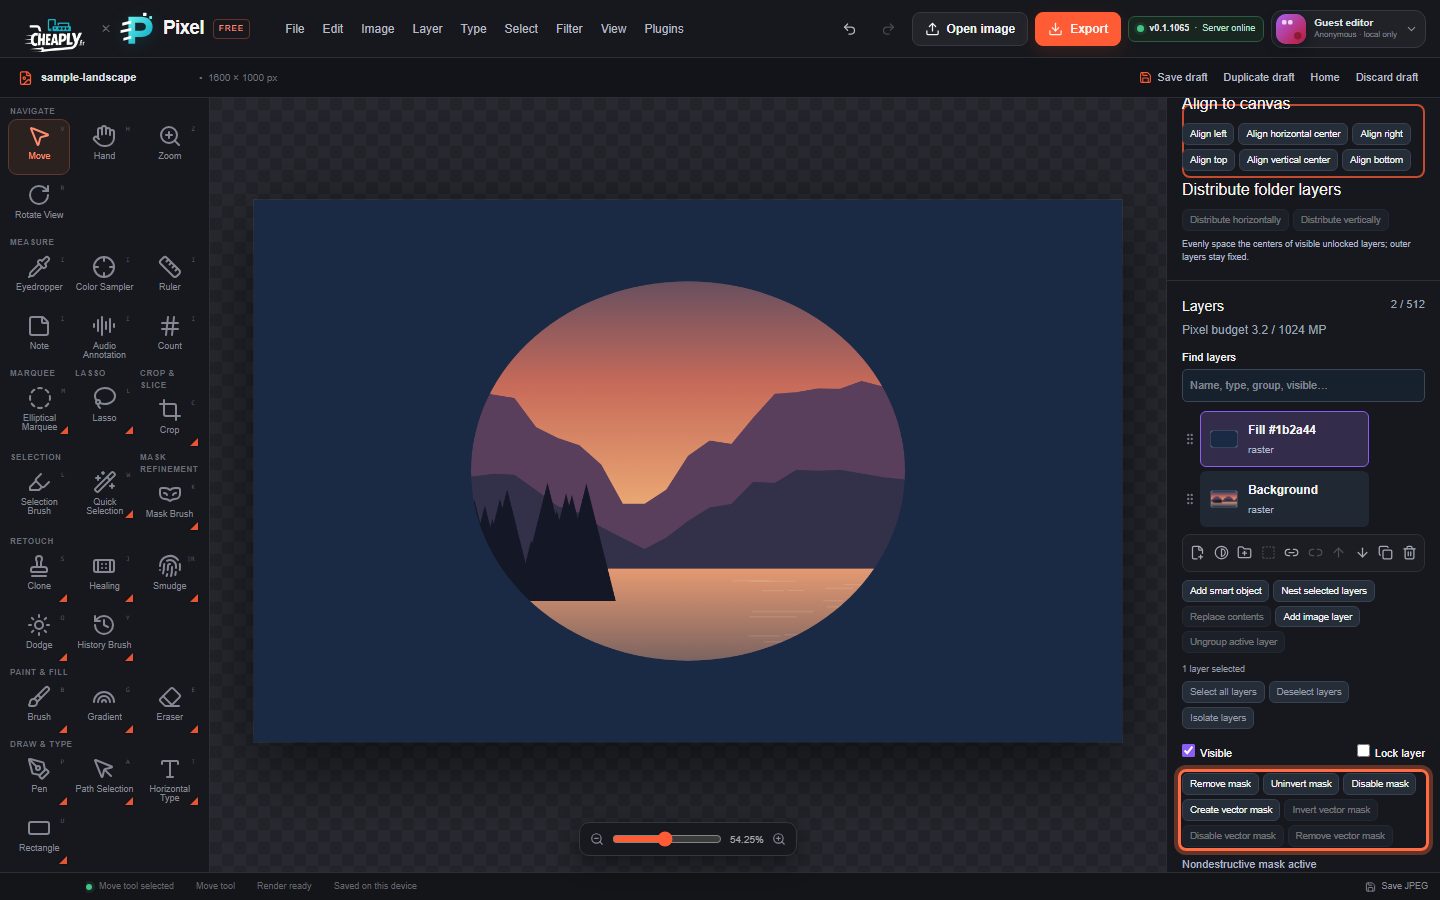
The area outside the selection is hidden, and the panel shows "Nondestructive mask active". The selection is used up by the mask; choose Select > Reselect to get it back. One undo step removes the mask and restores the selection.
If the layer already has a mask, the new mask replaces it.
#Change a mask
The mask buttons are below the Visible and Lock layer checkboxes. The same commands are in the Layer menu.
| Button | Layer menu | What it does |
|---|---|---|
| Invert mask / Uninvert mask | Invert Layer Mask | Swaps the hidden and visible areas. |
| Disable mask / Enable mask | Disable Layer Mask | Switches the mask off to show the whole layer, without deleting it. |
| Remove mask | Remove Layer Mask | Deletes the mask. The whole layer shows again. |
Each change is one undo step.
#Paint on a mask
To refine a mask by hand, use the tools in the Mask Refinement group of the toolbar:
- Mask Brush paints areas back in, and Mask Eraser hides more. See Mask Brush tools.
- On an adjustment layer, the Adjustment Brush paints where the adjustment applies. See Adjustment Brush.
To refine a mask edge with feathering and smoothing, use Select and Mask on the selection before you create the mask.
#Other ways to get a mask
- Layer > Mask All Objects adds a mask to every visible, unlocked image layer, hiding the background area that touches the edges of the canvas. It works by colour similarity from the edges; it does not recognise objects.
- Edit > Remove Background… hides the background with a mask. See Remove background.
Still stuck? See Troubleshooting or report a problem.