
Levels
Set the black point, white point and midtone gamma of a layer, and limit or invert its output range, without changing its pixels.
Levels remaps the tonal range of a layer. Use it to make the darkest tones truly black, the brightest truly white, and to brighten or darken the midtones. It is one of the quickest ways to fix a flat or murky photo.
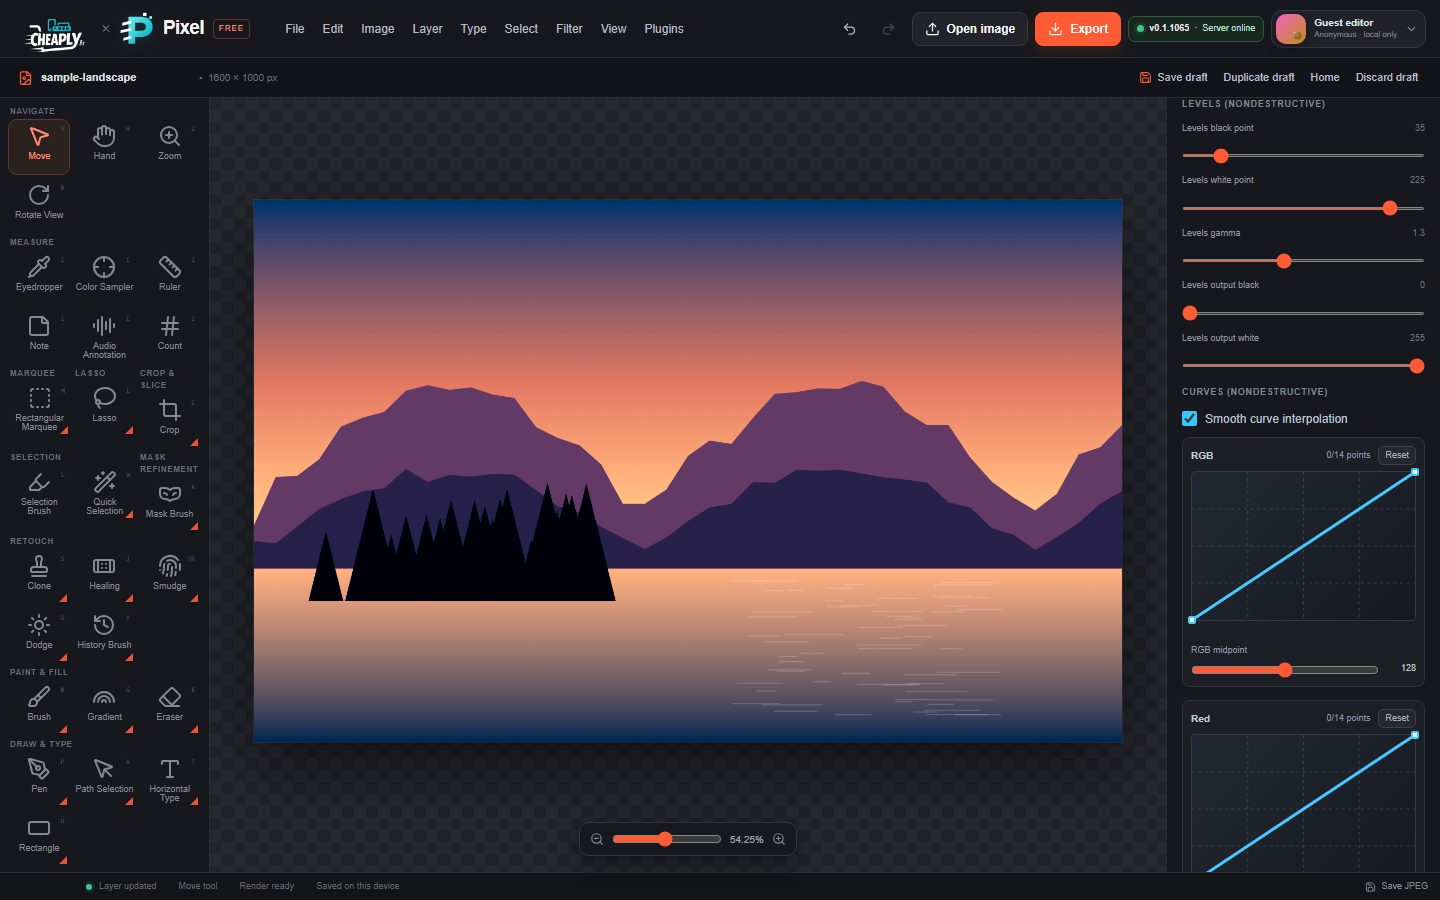
#Apply Levels
- Select the layer in the Layers panel, or select an adjustment layer to correct everything below it.
- Choose Image > Levels…. The Adjust selected layer panel opens at Levels (nondestructive).
- Drag Levels black point to the right until the darkest areas look black.
- Drag Levels white point to the left until the brightest areas look white.
- Adjust Levels gamma: values above 1 brighten the midtones, values below 1 darken them.
The canvas updates as you drag. Each change can be undone, and the original pixels are kept.
#Options
| Control | Range | What it does |
|---|---|---|
| Levels black point | 0–254 | Input values at or below this become black. It always stays below the white point. |
| Levels white point | 1–255 | Input values at or above this become white. It always stays above the black point. |
| Levels gamma | 0.1–3 | Bends the midtones. 1 is neutral; higher is brighter. |
| Levels output black | 0–255 | The darkest value the result may use. Raise it to fade the shadows. |
| Levels output white | 0–255 | The brightest value the result may use. Lower it to soften the highlights. |
#Good to know
- Levels works on the red, green and blue channels together. There is no per-channel Levels; use the Red, Green and Blue editors in Curves instead.
- Transparency is never changed.
- Levels has no built-in histogram. To see where your tones sit, open Image > Analysis (see Histogram and colour readouts).
- For a one-click stretch of the tonal range, try Image > Auto Tone or Auto Contrast (Auto adjustments).
Still stuck? See Troubleshooting or report a problem.