
Crop and straighten an image
Crop with the Crop tool using free or fixed ratios, an exact output size and composition overlays, and straighten a tilted horizon in one drag.
The Crop tool (C) trims the canvas to the area you choose. You see a preview first, and nothing changes until you apply it. You can also start it from Image > Crop.
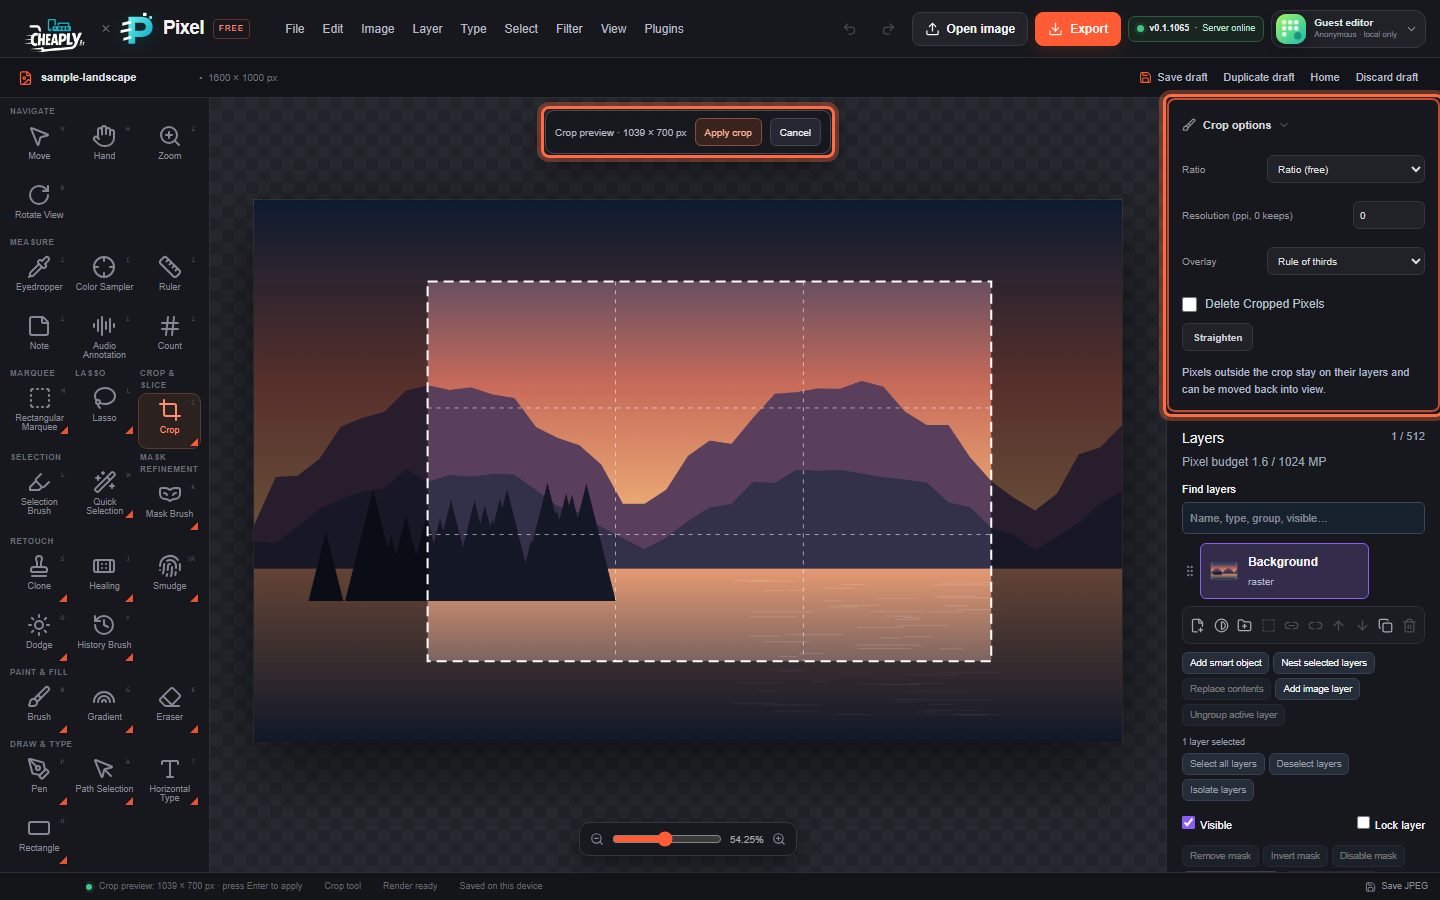
#Crop an image
- Choose Crop.
- Optionally pick a Ratio in Crop options (see below).
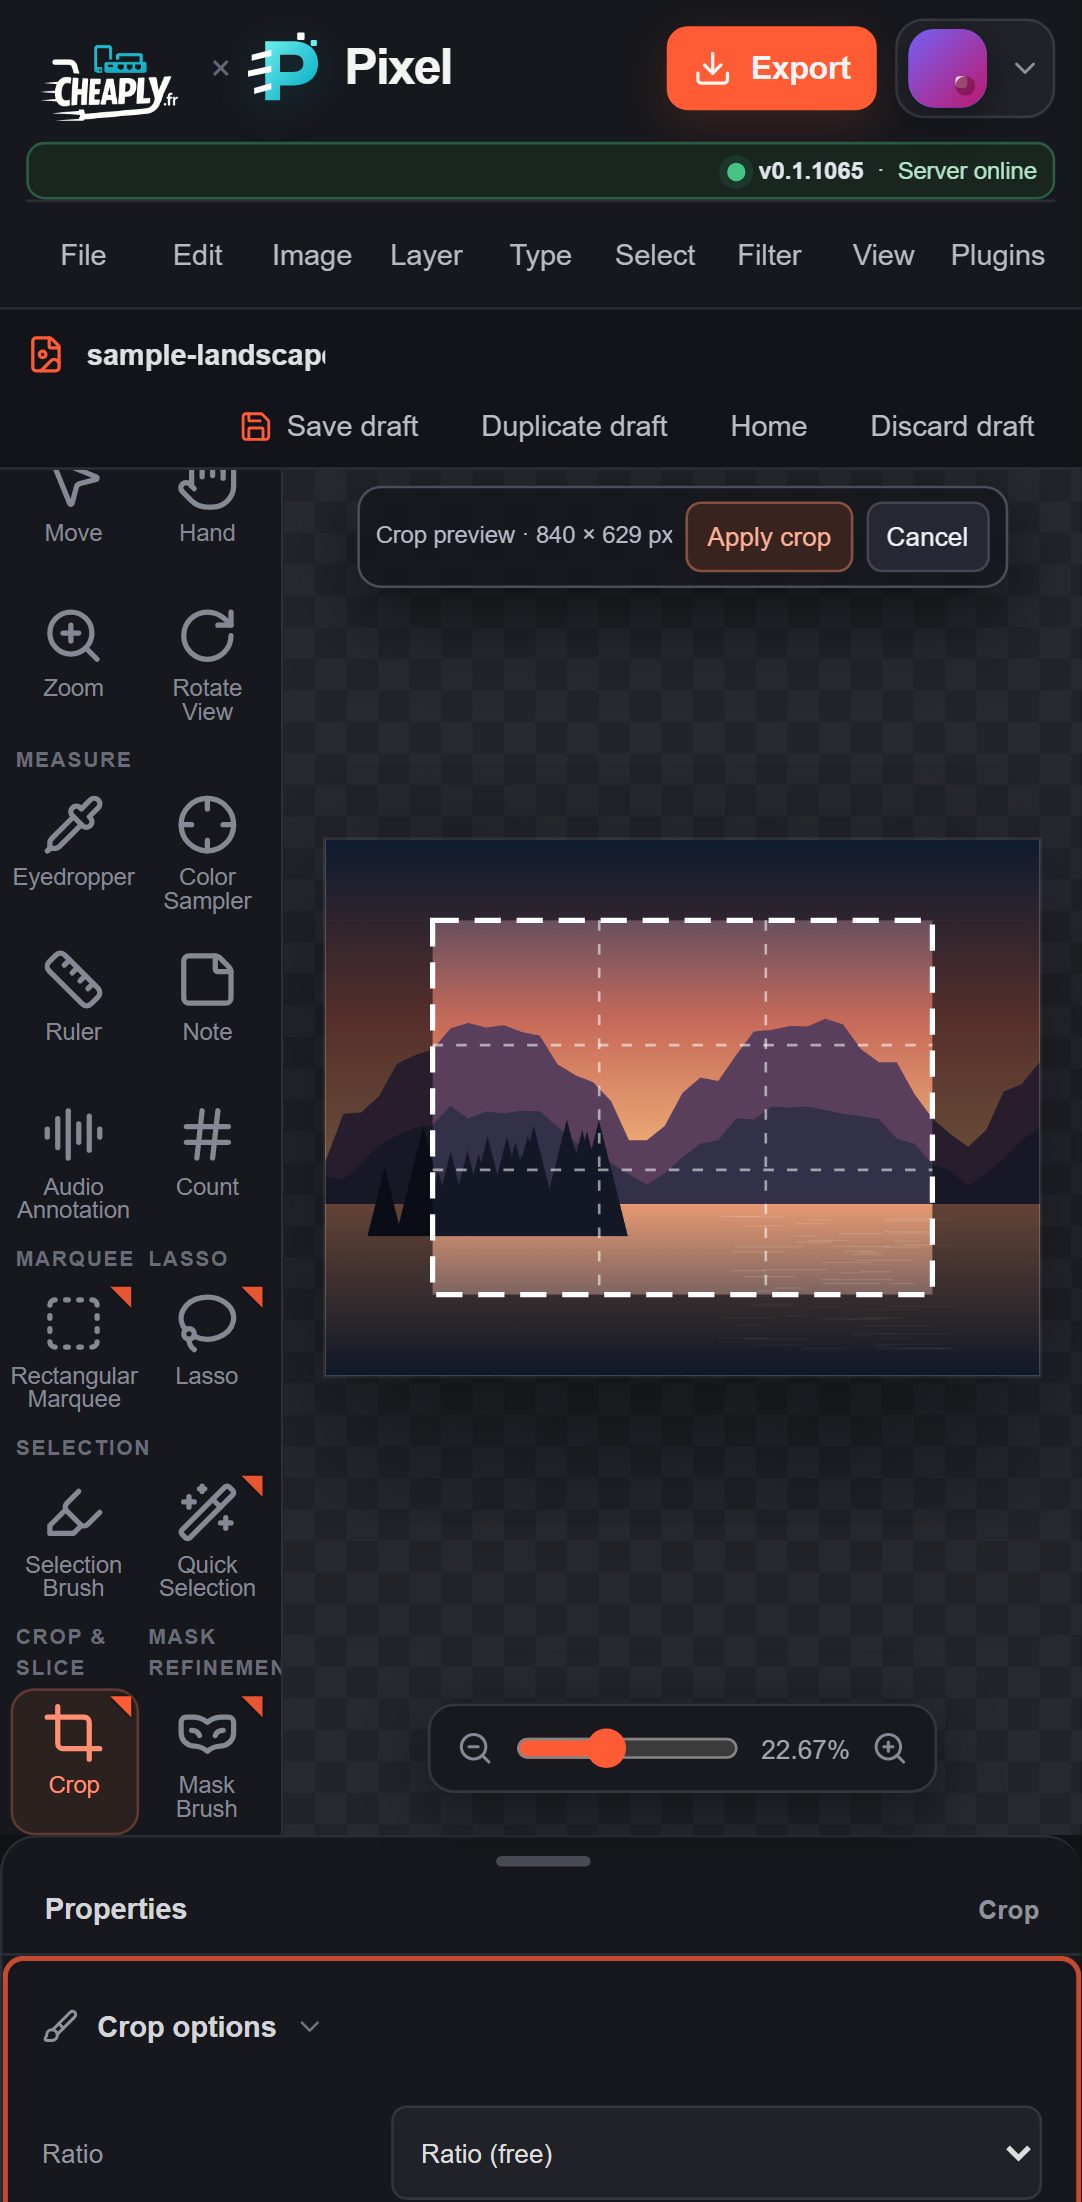
- Drag across the image. The area outside the crop is dimmed and the bar above the canvas shows Crop preview with the size in pixels. To change it, drag again.
- Click Apply crop or press Enter. Click Cancel or press Esc to leave the image unchanged.
Cropping is one undo step. Notes, rulers and other annotations inside the crop move with it.
#Crop options
| Option | What it does |
|---|---|
| Ratio | Ratio (free), Original ratio, 1 : 1 (square), 4 : 5 (8 : 10), 5 : 7, 2 : 3 (4 : 6), 3 : 4, 16 : 9, Custom ratio (enter W : H) or W × H px (resample). A ratio keeps your drag in that proportion, inside the canvas. |
| W × H px (resample) | Crops to the area you drag and then resizes the result to exactly the W × H pixels you enter. The output is limited to 16 megapixels. |
| Resolution (ppi, 0 keeps) | Sets the print resolution of the result. 0 keeps the current resolution. Pixels are not resampled by this setting. |
| Overlay | Rule of thirds, Grid (8 × 8) or None, drawn over the preview to help composition. |
| Delete Cropped Pixels | Off (default): pixels outside the crop stay on their layers, hidden, and can be moved back into view with the Move tool. On: plain image layers are trimmed to the crop. Text, shapes, smart objects and scaled or rotated layers always keep their content. |
#Straighten a tilted photo
- Choose Crop and click Straighten in Crop options.
- Drag along a line in the photo that should be level, such as the horizon.
- The whole image rotates so that line is level (one undo step), and a crop preview of the largest rectangle without empty corners is shown.
- Apply or adjust the crop as usual.
Click Straighten again before dragging to cancel. To level just one layer instead of the document, use Straighten Layer in the Ruler options.
Still stuck? See Troubleshooting or report a problem.