
Soften and sharpen details with the Blur and Sharpen tools
Brush a local blur onto distracting details or sharpen small areas with the Blur and Sharpen tools.
The Blur and Sharpen tools apply a blur or a sharpening effect only where you paint. Use Blur to soften a busy background or skin texture, and Sharpen to bring out small details such as eyes or text.
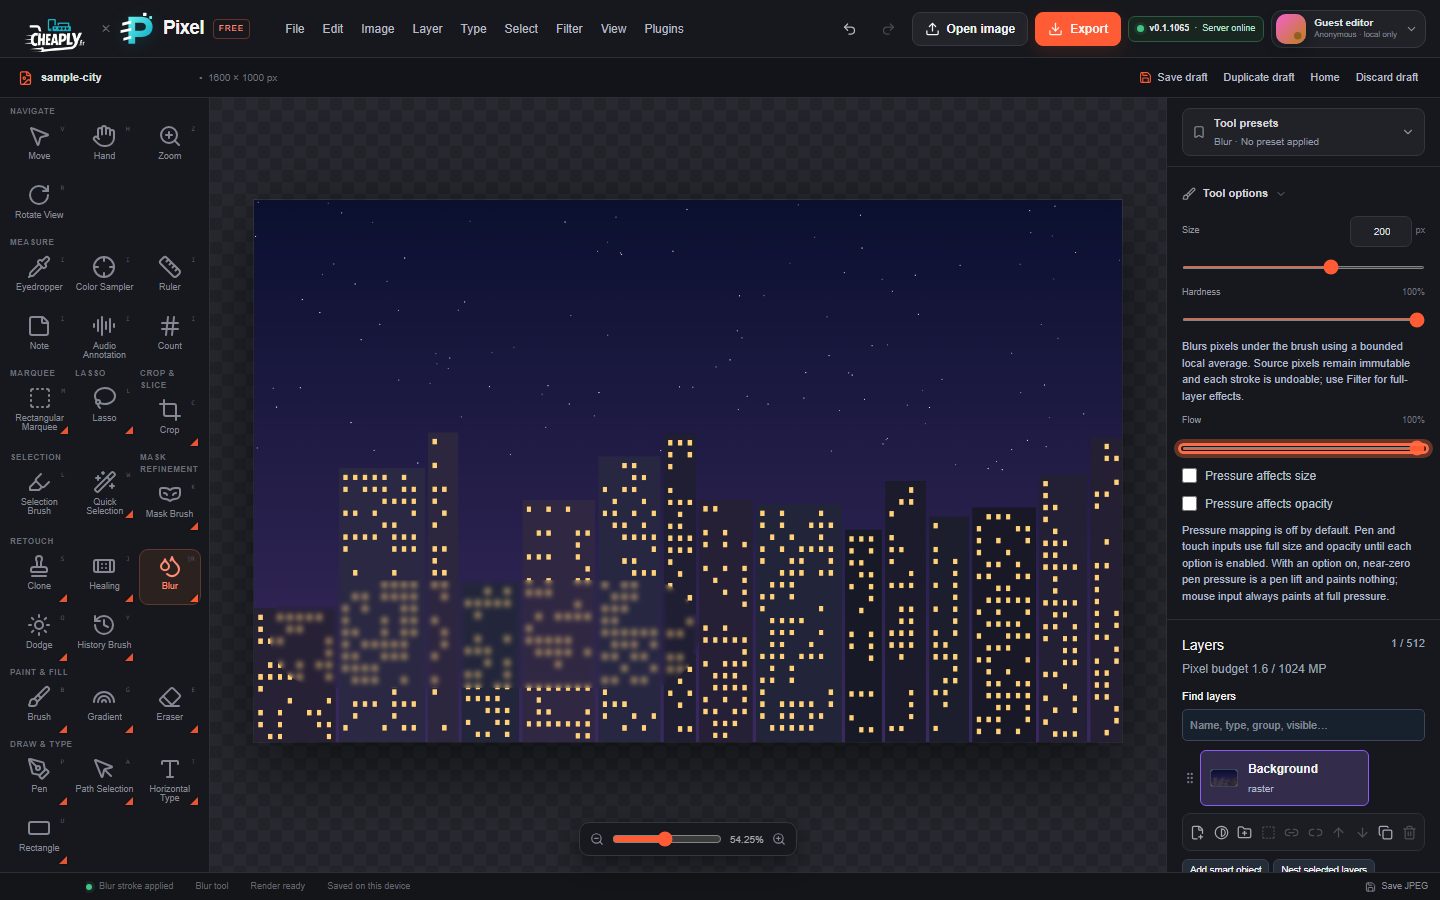
#Blur or sharpen an area
- In the Retouch group, press and hold (or right-click) the Smudge button and choose Blur or Sharpen. The three tools share one button. From the keyboard, press Shift+R (shown as ⇧R) until the tool you want is selected.
- Set Size, Hardness and Flow. Flow sets the strength of each stroke.
- Paint over the area. Paint over it again to strengthen the effect.
| Tool | What it does |
|---|---|
| Blur | Averages each pixel with its neighbours under the brush. |
| Sharpen | Increases the contrast of fine detail under the brush. |
Pressure options for size and opacity are available for pen and touch input.
#Good to know
- Each stroke reads the layer as it was when the stroke started, so passing over the same spot in one stroke does not compound the effect. Use several strokes for a stronger result.
- Transparency is kept, and only pixels inside an active selection change.
- Each stroke is one undo step.
- For an even effect across a whole layer or selection, use Filter > Blur or Filter > Sharpen instead. See Blur filters and Sharpen filters.
- To push pixels around rather than blur them, use the Smudge tool.
Still stuck? See Troubleshooting or report a problem.