
Remove spots with the Spot Healing and Healing tools
Paint over dust, blemishes and small marks with the Spot Healing tool, or copy from a source point you choose with the Healing tool.
The Spot Healing and Healing tools hide small defects such as dust, spots, blemishes and short scratches. Spot Healing fills the stroke from the pixels around it automatically. Healing copies from a source point you choose, like the Clone tool, but blends the result partly with the pixels underneath.
Both are local approximations designed for small marks with plain surroundings. They do not recognise objects and work less well on large objects, busy textures or edges in perspective.
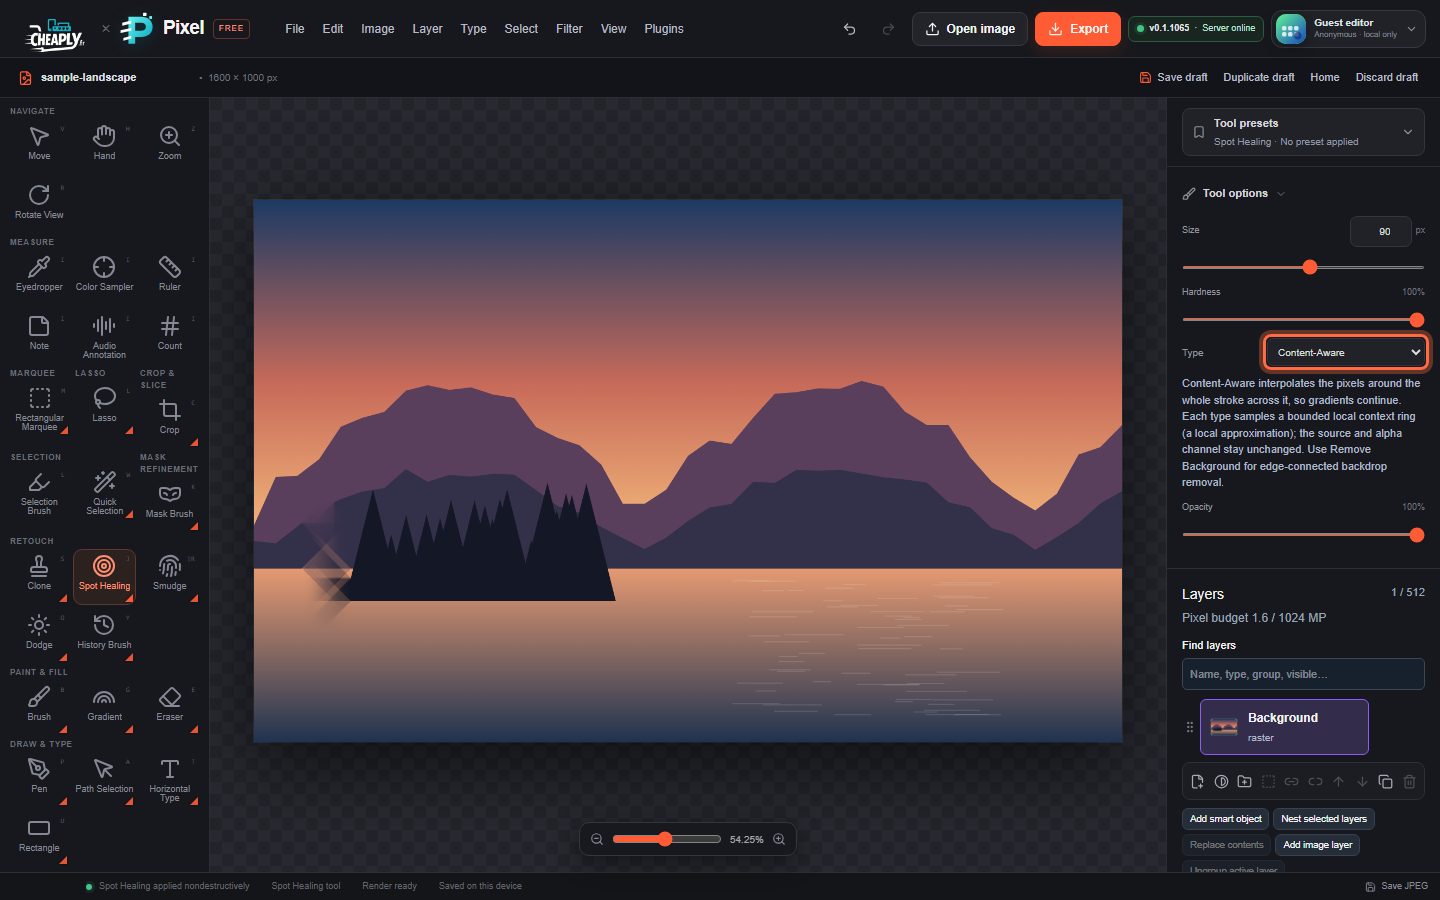
#Spot Healing
- Choose Spot Healing: press and hold (or right-click) the Healing button in the Retouch group, or press J until it is selected.
- Set Size a little larger than the mark.
- Choose a Type (see below).
- Click the mark, or paint over it in one stroke.
The stroke is stored with the layer as an editable operation instead of overwriting the original pixels, so you can undo it at any time, even after reloading the draft. A layer can hold up to 128 Spot Healing strokes.
#Type
| Type | What it does |
|---|---|
| Content-Aware (default) | Treats the whole stroke as a hole and fills it from the pixels around it, so gradients and edges that cross the stroke continue through it. |
| Create Texture | Like Content-Aware, then adds fine detail copied from a nearby area, so the fill is not too smooth. |
| Proximity Match | Fills each point from the pixels just outside the brush around it. |
Hardness softens the edge of the repair and Opacity blends it with the original.
#Healing
The Healing tool copies pixels from a source point like the Clone tool, and blends them at about two thirds strength over the pixels underneath. The result is softer than a clone, but the original can still show through, so it suits small, soft marks rather than solid objects.
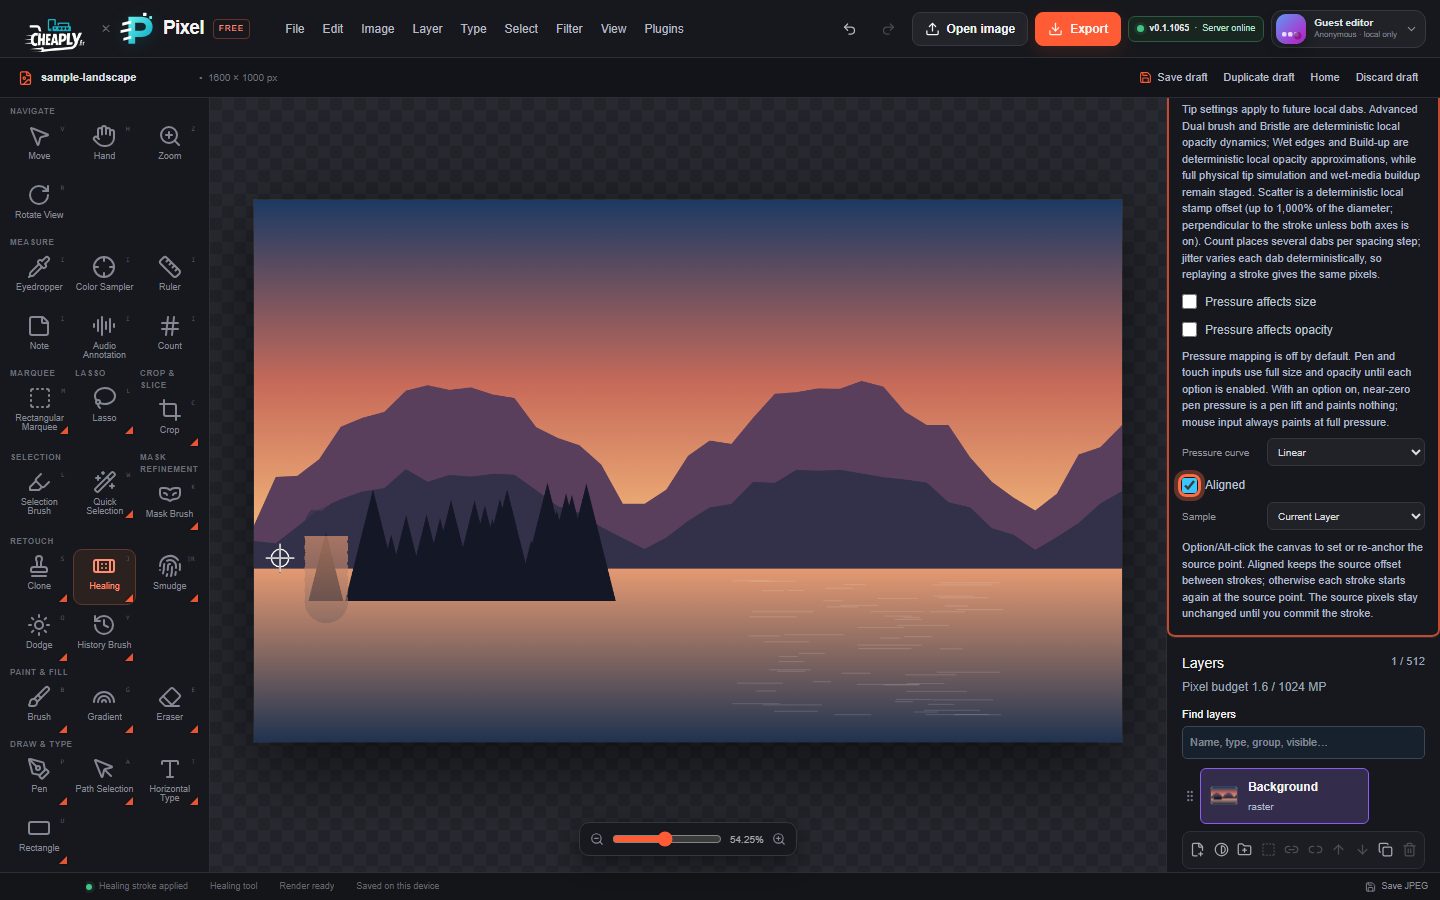
- Choose Healing (J).
- Alt+click (Option+click on Mac) a clean area to set the source. A white crosshair marks it.
- Paint over the defect. The source moves with your brush.
| Option | What it does |
|---|---|
| Aligned | On (default): the distance between source and brush stays the same for every stroke. Off: every stroke starts again from the source point. |
| Sample | Current Layer, Current & Below or All Layers: which layers the source pixels come from. With the last two you can heal on an empty layer above the photo. |
| Size, Hardness, Opacity, Spacing, Angle, Roundness | Brush tip options, as for the Brush. |
Healing also supports pen pressure and Paint symmetry.
#Good to know
- Both tools work on visible, unlocked pixel layers.
- With an active selection, the repair stays inside it, even after you deselect or reload.
- Spot Healing reads surrounding pixels from the same layer. On a separate empty layer it has nothing to work with.
- For larger areas, try the Patch tool or Content-Aware Fill.
Still stuck? See Troubleshooting or report a problem.