
Quick starting selections with Subject, Sky, Object Selection and Focus Area
Make a fast automatic starting selection with Select > Subject, Sky, Object Selection… and Focus Area…, and learn what these local approximations can and cannot do.
Four commands in the Select menu build a selection for you in one step. They are simple, predictable approximations that run entirely in your browser: they look at colour, brightness and position, not at what the picture shows. Use them as a starting point and refine the result.
| Command | How it decides |
|---|---|
| Select > Subject | Selects pixels that differ from the average colour along the image border, favouring the centre of the image. |
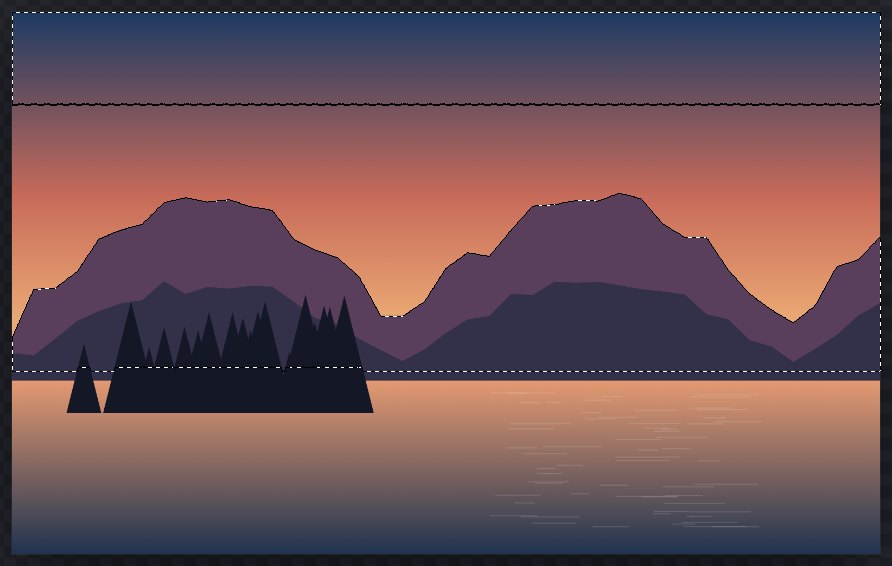
| Select > Sky | Selects blue or bright pixels in the upper part of the image and fades out towards a horizon. |
| Select > Object Selection… | Grows a region of connected, similar colour from a point you give. |
| Select > Focus Area… | Selects areas with strong local contrast (sharp detail), which are usually the in-focus parts. |
All four look at the whole visible image and follow the Selection mode in Selection options, so you can add or subtract their result from an existing selection. The status bar labels the result, for example "Sky selection created (local offline proxy)".
#Subject and Sky
Choose Select > Subject or Select > Sky. There are no settings; the selection appears straight away.
Subject works best on a subject that stands out against a fairly even background. Sky works best on daylight or sunset skies above a clear skyline.
#Object Selection
- Choose Select > Object Selection….
- The Object Selection dialog asks for:
- Point X and Point Y: the position of a pixel inside the object, in image pixels from the top-left corner. The centre of the image is suggested, and the point must lie inside the image. The document size is shown next to the document name, which helps you estimate a position.
- Colour tolerance (0–255): how different neighbouring colours may be (default 32).
- Edge softness (0–255): how soft the edge is (default 8).
- Click Select or press Enter. Out-of-range values are marked in red and keep Select unavailable; Cancel or Esc stops without changing the selection.
#Focus Area
- Choose Select > Focus Area….
- Set Threshold (0–255): higher values keep only the strongest detail (default 32).
- Set Softness (0–255): how gradually the selection fades (default 24).
- Click Apply Focus Area.
#Limits
To improve the result:
- Add or remove areas with the Selection Brush, Quick Selection or Quick Mask.
- Smooth or soften the edge with Select and Mask… or Modify selections.
- To cut a subject out, Remove Background creates a layer mask instead of a selection.
Still stuck? See Troubleshooting or report a problem.