
Repair layer masks with Mask Brush and Mask Eraser
Paint an existing layer mask directly on the canvas: Mask Brush reveals hidden pixels and Mask Eraser hides them, without touching the image itself.
Mask Brush and Mask Eraser edit the layer mask of the active layer by painting on the image. They are made for cleaning up cut-outs, for example after Remove Background or Select > Mask from Selection. The layer's own pixels never change, so anything you hide can be brought back.
| Tool | What painting does |
|---|---|
| Mask Brush | Reveals: makes hidden (masked) pixels visible again. |
| Mask Eraser | Conceals: hides pixels by adding them to the mask. |
Both are in the Mask Refinement toolbar group with the Adjustment Brush. Press K repeatedly to cycle through Frame, Mask Brush, Mask Eraser and Adjustment Brush.
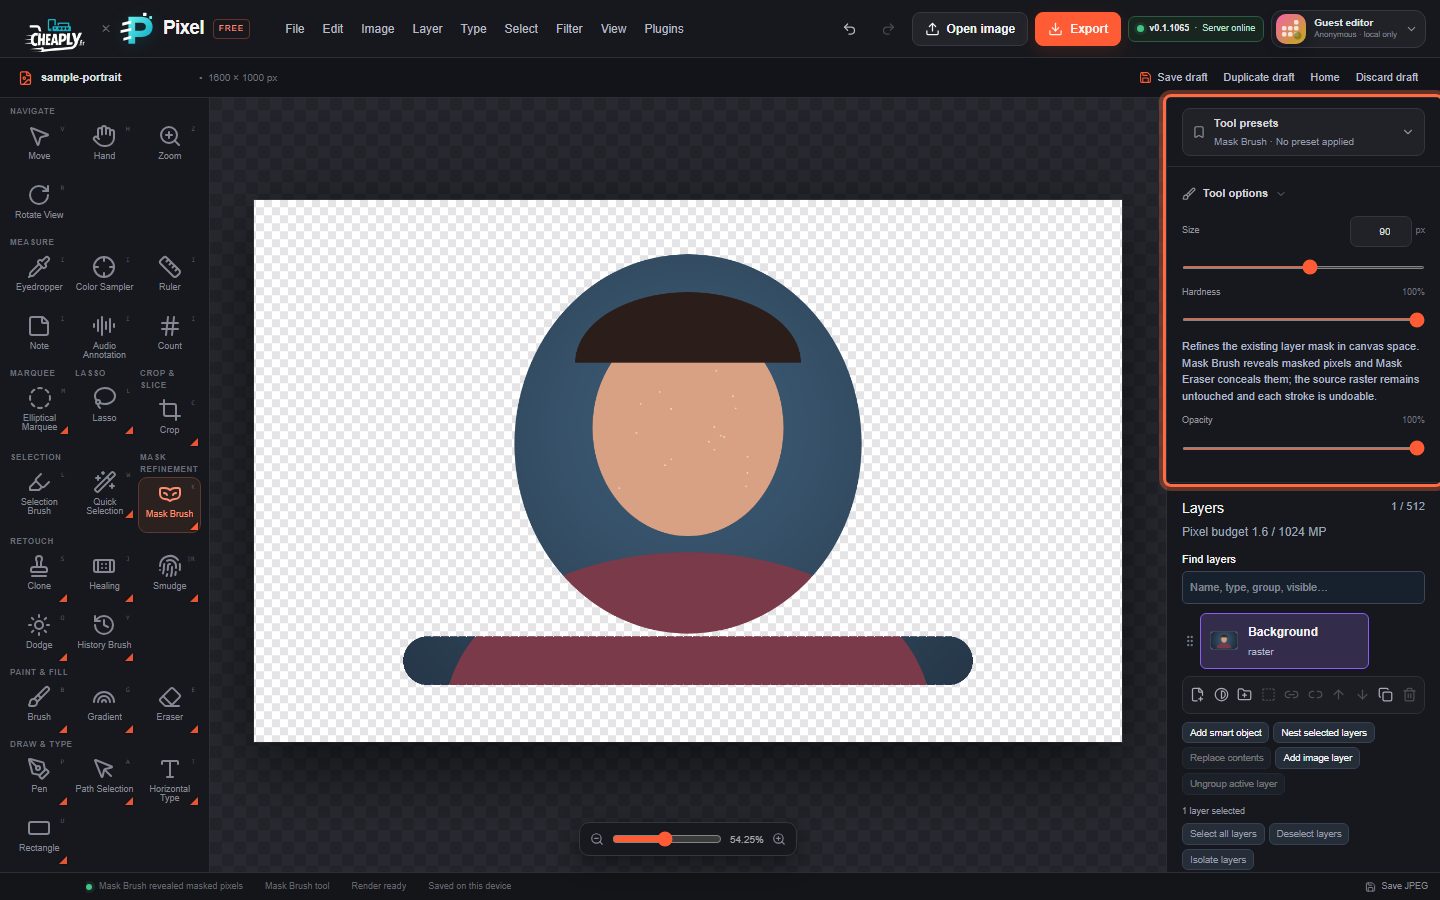
#Repair a mask
- Select a layer that has a layer mask. If it has none, create one first: make a selection and choose Select > Mask from Selection, or use Edit > Remove Background….
- Choose Mask Brush to bring pixels back, or Mask Eraser to hide them.
- Set Size, Hardness and Opacity. A soft brush gives a gradual edge; a lower opacity reveals or hides partly.
- Paint on the image. The change is applied when you lift the pointer, as one undo step. Press Esc during a stroke to cancel it.
The tools work in canvas space, so you paint exactly where you see the problem, even if the layer has been moved or scaled.
#Limits
- The active layer must be a visible, unlocked image layer with a mask. Otherwise the tool tells you to create a mask or run Remove Background first.
- Masks are limited to 16 megapixels.
- These tools paint the mask by hand; they do not detect hair or edges for you.
Still stuck? See Troubleshooting or report a problem.